

Ads by Aura – unwanted advertisements which can be brought to the PC by shareware or freeware
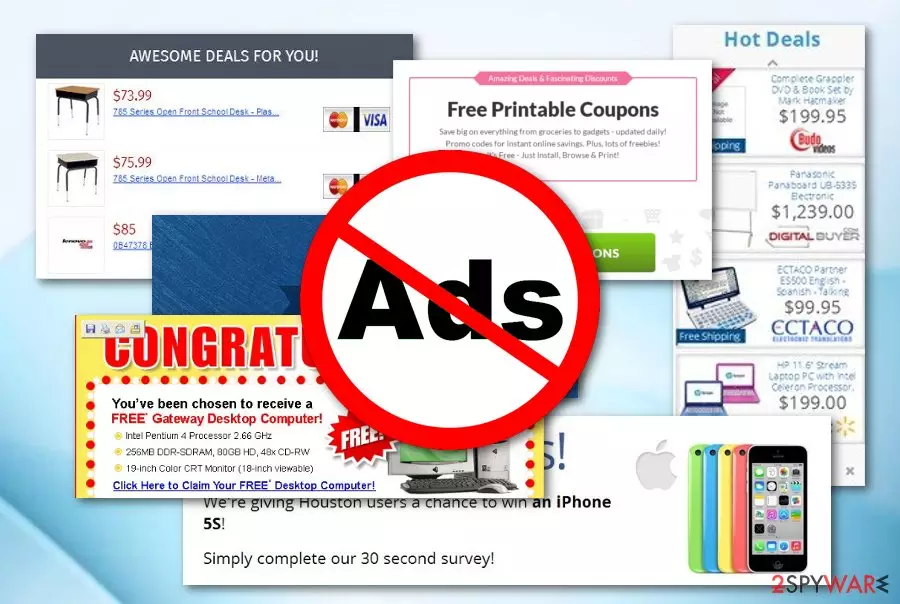
Aura virus is an adware-related application which infects web browsers such as Google Chrome, Microsoft Edge, Mozilla Firefox, Internet Explorer, and so on. These types of potentially unwanted programs usually come bundled with other free applications. Once installed, Aura malware injects rogue components into the infected browsers and begins the annoying advertising activity. Various pop-ups and pop-unders start intruding the user's browsing sessions frequently. Nevertheless, the ad-supported program is capable of redirecting to unknown or developer-sponsored websites where you can accidentally catch a more serious computer infection, e.g. trojan virus.[1] As you can see, Ads by Aura are not harmful itself but the consequences of its activity can appear to be truly unpleasant.
| Name | Aura virus |
|---|---|
| Category | Adware |
| Sub-category | PUP |
| Browsers affected | Chrome, Firefox, Edge, etc. |
| Possible dangers | Can redirect you to a potentially dangerous website |
| Distribution | Bundled freeware/shareware, questionable pages |
| Prevention | Use only original installers, turn on the Custom/Advanced installation mode, stay away from unrecognizable sites |
| Removal process | Use a tool such as FortectIntego to detect all unwanted components in the computer |
If Ads by Aura have appeared on your computer, you will be likely experiencing such symptoms:
- browser struggles;
- browser modifications (e.g. homepage, new extensions added);
- frequent advertising;
- unwanted redirecting activity;
- and so on.
Note that adware such as Aura is capable of collecting all details that relate to the user's browsing habits. This rogue program can spy on information such as commonly visited websites, links clicked, IP addresses, bookmarks you have saved, and similar objects. Developers use this information to provide beneficial ads, so do not be surprised that advertising posts promote products or services you have recently searched for on the Internet.
However, this type of activity can easily trick gullible users into purchasing completely unnecessary programs. What you need to do is remove Ads by Aura from your computer system and clean all browsers to ensure that no rogue content is left. For detecting adware-related content we suggest using FortectIntego or any other similar program. Of course, feel free to use manual instructions that we have provided below this article.
Perform the Aura virus removal to bring browsers back to their previous states. If you hesitate to get rid of the PUP,[2] your browser might start crashing due to the big number of advertisements that have been showing up frequently. The longer you postpone the elimination process, the more annoying the advertising activity will get and you will not be able to perform browsing sessions properly.
Furthermore, if the advertising activity becomes so frequent that your browser and computer starts struggling to perform even simple operations, note that Ads by Aura might be overusing your CPU[3] power. If such a thing happens, you might find running other programs very difficult. Avoid all possible consequences the adware program can bring by eliminating it the same minute you spot the first signals of rogue activity.

Other software distributes adware
According to cybersecurity researchers,[4] adware programs often come together with bundled freeware or shareware. Once you download a program from a free file sharing website or by using a third-party installer, there is a big chance that the application might come together with a potentially unwanted program such as an ad-supported one.
Good news is that you can prevent this type of secret installation by using only original installers or downloading programs from trustworthy websites. However, not always this is possible, so we suggest selecting the Advanced or Custom installation mode where you will always be able to control all incoming downloads.
One more thing you should know about adware distribution techniques is that these potentially unwanted programs can also infiltrate the computer system via suspicious-looking websites. Be careful once you visit secondary sources as they might easily lack recommended protection and contain unwanted content in links, and similar objects.
Terminate Ads by Aura without any hesitation
To remove Ads by Aura manually, open infected web browsers such as Google Chrome, Mozilla Firefox, Microsoft Edge, Internet Explorer, or Safari and get rid of all adware-added browser extensions, add-ons, and plug-ins. Note that this method will require more of your effort than getting rid of the cyber threat by using the automatical technique.
Performing the Ads by Aura removal automatically requires only downloading and installing a reputable antivirus program. If you choose a reliable and expert-tested antimalware tool, the process will be completed in a couple of minutes time duration. Furthermore, do not forget to refresh all web browsers that might have been infected by the potentially unwanted application.
Uninstall from Windows
Uninstall from Windows 10/8:
- Type Control Panel into the Windows search box and open the result.
- Under Programs, select Uninstall a program.


Uninstall from Windows 7/XP:
- Click on Windows Start > Control Panel (Windows XP users should click on Add/Remove Programs).
- In Control Panel, select Programs > Uninstall a program.


Remove the unwanted program:
- In the Programs and Features window, look for any recently installed suspicious entries, select them, and click Uninstall.
- If User Account Control appears, click Yes to confirm, then complete the removal.


Reset Internet Explorer
Remove dangerous add-ons:
- Open Internet Explorer, click on the Gear icon (IE menu) on the top-right corner of the browser
- Pick Manage Add-ons.
- You will see a Manage Add-ons window. Here, look for suspicious plugins. Click on these entries and select Disable.


Change your homepage if it was altered:
- Open IE and click on the Gear icon.
- Select Internet Options.
- In the General tab, delete the Home page address and replace it by your preferred one (for example, Google.com).
- Click Apply and then select OK.


Delete temporary files:
- Press on the Gear icon and select Internet Options.
- Under Browsing history, click Delete...
- Select relevant fields and press Delete.


Reset Internet Explorer:
- Click on Gear icon > Internet options and select Advanced tab.
- Select Reset.
- In the new window, check Delete personal settings and select Reset.


Remove from Microsoft Edge
Delete unwanted extensions from MS Edge:
- Select Menu (three horizontal dots at the top-right of the browser window) and pick Extensions.
- From the list, pick the extension and click on the Gear icon.
- Click Remove.


Clear cookies and other browser data:
- Click on the Menu (three horizontal dots at the top-right of the browser window) and select Settings > Privacy, search, and services..
- Under Clear browsing data, pick Choose what to clear.
- Select Cookies and other site data and Cached images and files. (apart from passwords, although you might want to include Media licenses as well, if applicable) and click on Clear.


Restore new tab and homepage settings:
- Click the menu icon and choose Settings.
- Then find On startup section.
- Click Remove next to any suspicious startup page.
Reset MS Edge if the above steps did not work:
- Press on Ctrl + Shift + Esc to open Task Manager.
- Click on More details arrow at the bottom of the window.
- Select Details tab.
- Now scroll down and locate every entry with Microsoft Edge name in it. Right-click on each of them and select End Task to stop MS Edge from running.


Instructions for Chromium-based Edge
Delete extensions from MS Edge (Chromium):
- Open Edge and click select Settings > Extensions.
- Delete unwanted extensions by clicking Remove.


Clear cache and site data:
- Click on Menu and go to Settings.
- Select Privacy, search and services.
- Under Clear browsing data, pick Choose what to clear.
- Under Time range, pick All time.
- Select Clear now.


Reset Chromium-based MS Edge:
- Click on Menu and select Settings.
- On the left side, pick Reset settings.
- Select Restore settings to their default values.
- Confirm with Reset.
- This will disable extensions and reset startup pages but will not delete bookmarks, saved passwords, or browsing history.


Remove from Mozilla Firefox (FF)
Remove dangerous extensions:
- Open Mozilla Firefox browser and click on the Menu (three horizontal lines at the top-right of the window).
- Select Add-ons.
- In here, select the unwanted extension and click Remove.


Reset the homepage:
- Click three horizontal lines at the top right corner to open the menu.
- Choose Settings.
- Under Home, set your preferred homepage and new tab settings.
Clear cookies and site data:
- Click Menu and pick Settings.
- Go to Privacy & Security section.
- Scroll down to locate Cookies and Site Data.
- Click on Clear Data...
- Select Cookies and Site Data and Temporary cached files and pages, then click Clear.


Reset Mozilla Firefox
If clearing the browser as explained above did not help, reset Mozilla Firefox:
- Open Mozilla Firefox browser and click the Menu.
- Go to Help and then choose Troubleshooting Information.

- Under Give Firefox a tune up section, click on Refresh Firefox...
- Once the pop-up shows up, confirm the action by pressing on Refresh Firefox.



Delete from Safari
Remove dangerous extensions:
- Open Safari, click Safari in the menu at the top-left of the screen, and select Preferences.
- Go to the Extensions tab, look for any suspicious entries, and click Uninstall to remove them.


Clear history and website data:
- Click Safari in the menu and pick Clear History.
- Set Clear to all history and confirm with Clear History.


Reset Safari:
- Click Safari in the menu and select Preferences > Advanced.
- Enable Show Develop menu in menu bar.
- From the menu bar, click Develop and select Empty Caches.


Did this guide help?
Be the first to comment