

SecureTab fools users by saying that it provides secure searches when it is the opposite
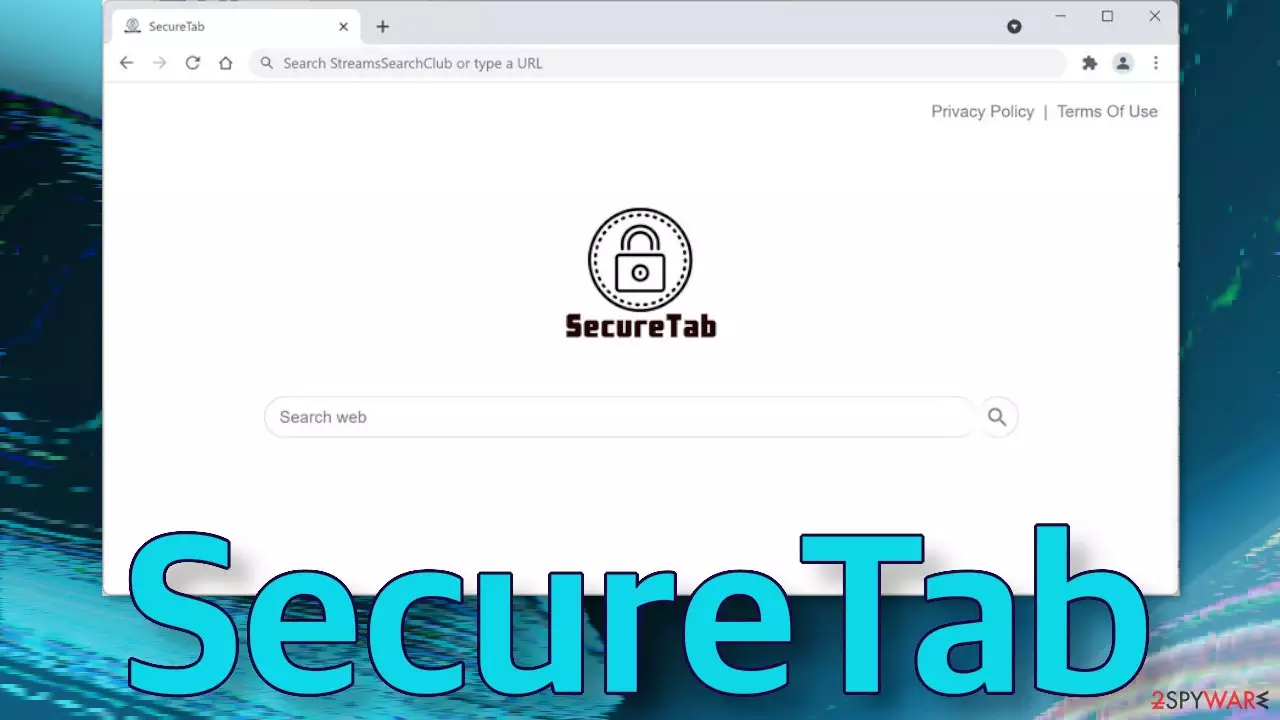
SecureTab is a browser extension that usually gets added by accident or as a result of deceptive advertising. The application's name implies that users should be able to search the Internet securely while having it, but that is false. This PUP[1] (potentially unwanted program) was created to monetize peoples' browsing activity.
The changes happen quickly and unexpectedly. That is why most people think that they have been infected with a virus. Although browser hijackers are not particularly dangerous in themselves, they can lead to severe issues if people are not careful. This intruder usually comes in the form of a browser plugin or program that can execute these acts.
Generally, extensions are meant to provide users with something valuable that makes the browsing experience easier or more pleasurable. Add-ons that block ads, dangerous pages, or automatically search for the best discount codes while shopping online are particularly popular.
| NAME | SecureTab |
| TYPE | Browser hijacker; potentially unwanted program |
| SYMPTOMS | The settings of the browser get changed, like the homepage, new tab address, and search engine |
| DISTRIBUTION | Shady websites, deceptive ads, redirects, freeware installations |
| DANGERS | The application can change all data on its pages and read users' browsing history |
| ELIMINATION | Go to your browser settings to remove the extension responsible for unwanted behavior |
| FURTHER STEPS | Use a repair tool FortectIntego to fix any damage left after the intruder and to optimize the machine |
Users often infect themselves with extensions like the SecureTab Default Search because they rush and do not read everything written in the prompts. People press “Allow” buttons without thinking about what they will do. This way, users bring various types of troubles like push notification spam, adware,[2] and other programs that generate revenue from users' activity.
Browser hijackers are a threat to user privacy
When you add plugins to your browser, you should always read about their functions and what data they will collect. You can clearly see in the picture above that SecureTab changes the homepage to securetab.xyz and that it can track browsing activity. You should always be careful about third parties having access to your data. If something happened, they could not be held accountable.
Extensions that hijack browsers often try to cater to security and privacy. They try to create an illusion that they can provide safety. But that is entirely false about this app. All it does is redirect your searches to Microsoft's search engine Bing. There is no point in having the plugin installed, as you can use Bing directly without anything in between.
Usually, hijackers do not have their own search engines; they use existing ones to make them functional. Their only purpose is to make money from your clicks on ads and information gathering. They can later sell your information to advertising networks that use it to target you with ads.

Browsing data is collected with the help of cookies[3] that are small files stored on your hard drive. If you visit a lot of untrustworthy sites, your information may not be safe. The good thing is that you can stop them. The best option is to use a maintenance tool like FortectIntego that can do this automatically, so you do not have to worry about it. Besides that, you can notice an improvement in performance after using it as it optimizes the machine.
Start the removal via browser settings
You should first try to locate the extension responsible for the changes in your browser settings and move on to the next step:
Google Chrome
- Open Google Chrome, click on the Menu (three vertical dots at the top-right corner) and select More tools > Extensions.
- In the newly opened window, you will see all the installed extensions. Uninstall all the suspicious plugins that might be related to the unwanted program by clicking Remove.


MS Edge:
- Select Menu (three horizontal dots at the top-right of the browser window) and pick Extensions.
- From the list, pick the extension and click on the Gear icon.
- Click on Uninstall at the bottom.


MS Edge (Chromium)
- Open Edge and click select Settings > Extensions.
- Delete unwanted extensions by clicking Remove.


Mozilla Firefox
- Open Mozilla Firefox browser and click on the Menu (three horizontal lines at the top-right of the window).
- Select Add-ons.
- In here, select the unwanted plugin and click Remove.


Safari
- Click Safari > Preferences…
- In the new window, pick Extensions.
- Select the unwanted extension and select Uninstall.


Internet Explorer:
- Open Internet Explorer, click on the Gear icon (IE menu) on the top-right corner of the browser
- Pick Manage Add-ons.
- You will see a Manage Add-ons window. Here, look for suspicious plugins. Click on these entries and select Disable.


PUPs are spreading rapidly on the Internet
The first method may not have gotten rid of the symptoms completely. That is because there might be a PUA hiding in your system. The application can keep messing up your browser until you altogether remove it from your PC. Identifying the program responsible for the changed settings might be difficult if you have never done this before.
The program could be disguised as antivirus, video, or image editing software because they are most often installed from freeware[4] distribution sites. They include additional programs in the installers without disclosing it on their page and hope that most people will not notice. Unfortunately, that is what happens most of the time. People rush through the installation process and skip the steps.
If you want to avoid this happening in the future, you should always choose the “Custom” or “Advanced” installation method, read the Privacy Policy and Terms of Use. The most important part is to inspect the file list and uncheck the boxes next to any unrelated programs that you do not need.
Suppose you do not want to risk deleting the wrong files. In that case, we suggest using SpyHunterCombo Cleaner or MalwarebytesMalwarebytes professional security tools that will scan your machine, eliminate it, and prevent such infections in the future by giving you a warning before a PUP can make any changes. If you prefer manual removal because you know what to do, we have instructions for Windows and Mac machines:
Windows 10/8:
- Enter Control Panel into Windows search box and hit Enter or click on the search result.
- Under Programs, select Uninstall a program.

- From the list, find the entry of the suspicious program.
- Right-click on the application and select Uninstall.
- If User Account Control shows up, click Yes.
- Wait till the uninstallation process is complete and click OK.



Windows 7/XP:
- Click on Windows Start > Control Panel located on the right pane (if you are a Windows XP user, click on Add/Remove Programs).
- In Control Panel, select Programs > Uninstall a program.

- Pick the unwanted application by clicking on it once.
- At the top, click Uninstall/Change.
- In the confirmation prompt, pick Yes.
- Click OK once the removal process is finished.

Mac:
- From the menu bar, select Go > Applications.
- In the Applications folder, look for all related entries.
- Click on the app and drag it to Trash (or right-click and pick Move to Trash)


To fully remove an unwanted app, you need to access Application Support, LaunchAgents, and LaunchDaemons folders and delete relevant files:
- Select Go > Go to Folder.
- Enter /Library/Application Support and click Go or press Enter.
- In the Application Support folder, look for any dubious entries and then delete them.
- Now enter /Library/LaunchAgents and /Library/LaunchDaemons folders the same way and terminate all the related .plist files.


Did this guide help?
Be the first to comment