Gateway-search.net is a useless extension that hijacks the browser by changing the settings
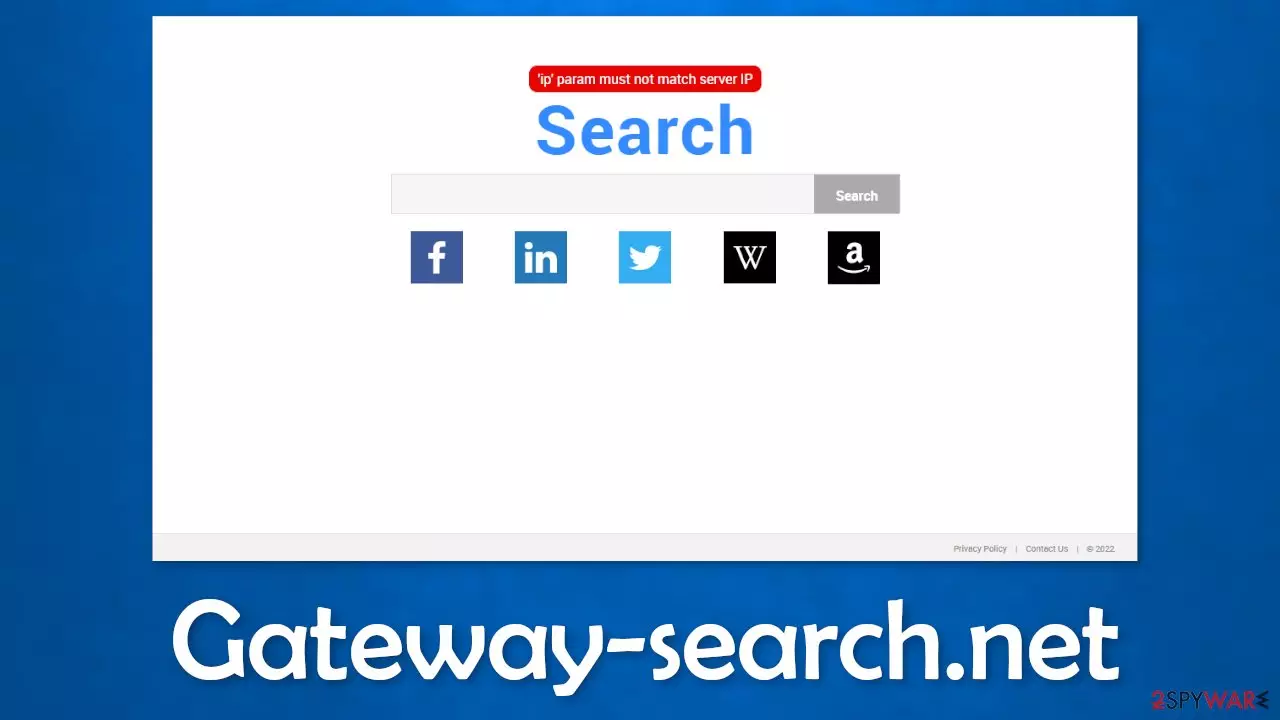
Gateway-search.net is a browser hijacker that changes the main settings, like the homepage, new tab address, and search engine. It can also cause an increased amount of commercial content, like pop-ups, banners, and redirects. Crooks often use rogue advertising networks so people can end up on pages that use social engineering techniques to trick them into providing personal information, downloading PUPs (potentially unwanted programs),[1] and malware.
NAME
Gateway-search.net
TYPE
Browser hijacker; potentially unwanted program
SYMPTOMS
The main settings of the browser get changed, like the homepage, new tab address, and search engine
DISTRIBUTION
Shady websites, deceptive ads, software bundling, web stores
DANGERS
The extension may lead to dangerous websites; display misinformation, inaccurate search results; track browsing, and collect data
ELIMINATION
Remove the extension by going to your browser settings
FURTHER STEPS
Use FortectIntego to fix any remaining damage and optimize the machine
Distribution methods
Gateway-search.net hijacker can appear in the browser after visiting shady websites, clicking on random links and buttons. Even though Google said it would get rid of fake “Download” and “Play” buttons, they still exist. There are also bogus “Downloader” pages that trick people into installing applications that cause erratic behavior.
We always recommend our readers to use only official web stores. Apps that get listed there, go through an extensive review process. However, you should still do your research – read the reviews, look at the ratings and the number of users. It is best to choose those extensions that have plenty of positive feedback and thousands of users.
You should also stay away from freeware[2] distribution, peer-to-peer file-sharing platforms, and torrent websites as they are unregulated. You can never know if the software you want to install is safe to use. Fraudsters can disguise adware[3] as “handy” tools so users would not suspect a thing.
The dangers of hijacking
By having the search engine changed, users have to get used to the new layout and results against their will. The applications can also track the user activity – IP address, geolocation, websites they visit, links they click on, and things they purchase online.
This can all be done with the help of tracking technologies like cookies.[4] They can later be sold to advertising networks or other third parties. That is why security experts recommend clearing them regularly. Because most of the time people forget about this task or do not care about it, there is a maintenance tool, like FortectIntego that can do it automatically.
This powerful software can clear your browsers with a click of a button, as well as fix various system errors, corrupted files, and registry issues which is especially helpful after a virus infection.
Remove the unwanted extension
You can remove browser add-ons by going to your settings. Find the list of extensions installed in your browser and remove the Gateway-search.net. Follow the guide below for instructions:
Google Chrome
Open Google Chrome, click on the Menu (three vertical dots at the top-right corner) and select More tools > Extensions.
In the newly opened window, you will see all the installed extensions. Uninstall all the suspicious plugins that might be related to the unwanted program by clicking Remove.
MS Edge:
Select Menu (three horizontal dots at the top-right of the browser window) and pick Extensions.
From the list, pick the extension and click on the Gear icon.
Click on Uninstall at the bottom.
MS Edge (Chromium)
Open Edge and click select Settings > Extensions.
Delete unwanted extensions by clicking Remove.
Mozilla Firefox
Open Mozilla Firefox browser and click on the Menu (three horizontal lines at the top-right of the window).
Select Add-ons.
In here, select unwanted plugin and click Remove.
Safari
Click Safari > Preferences…
In the new window, pick Extensions.
Select the unwanted extension and select Uninstall.
Potentially unwanted programs
Sometimes removing only the extension is ineffective, and users still continue to experience unwanted symptoms. In that case, you will probably have to scan your machine for adware which is a program that hides in the background of the machine and generates commercial content. If you have it, simply removing the add-on will not be enough, and the settings will keep changing until you completely eliminate it from your machine.
One of the most common ways that these kinds of PUAs are spread is through freeware installation sites. The method is known as software bundling and is very effective as most people rush through the installation process and skip all the steps. If you want to avoid that in the future, it is important to be present during the installation.
Always choose “Custom” or “Advanced” installation methods, read the privacy policy and terms of use to find out what information will be collected and what the application will be allowed to do in your system. The most important part is to check the file list and untick the boxes next to any items that you think are suspicious or unrelated.
Scan the machine for adware
The program that is causing the erratic behavior of the browser could have any name or icon, as crooks often disguise them as “handy” programs. If you are not sure what to do and you do not want to risk deleting the wrong files, we suggest using SpyHunterCombo Cleaner or MalwarebytesMalwarebytes anti-malware tools that will scan your machine, eliminate it, and prevent such infections in the future by giving you a warning before a PUP can make any changes.
If manual removal is what you still prefer, we have instructions for Windows and Mac machines:
Windows 10/8:
Enter Control Panel into Windows search box and hit Enter or click on the search result.
Under Programs, select Uninstall a program.
From the list, find the entry of the suspicious program.
Right-click on the application and select Uninstall.
If User Account Control shows up, click Yes.
Wait till uninstallation process is complete and click OK.
Windows 7/XP:
Click on Windows Start >Control Panel located on the right pane (if you are Windows XP user, click on Add/Remove Programs).
In Control Panel, select Programs > Uninstall a program.
Pick the unwanted application by clicking on it once.
At the top, click Uninstall/Change.
In the confirmation prompt, pick Yes.
Click OK once the removal process is finished.
Mac:
From the menu bar, select Go > Applications.
In the Applications folder, look for all related entries.
Click on the app and drag it to Trash (or right-click and pick Move to Trash)
To fully remove an unwanted app, you need to access Application Support, LaunchAgents, and LaunchDaemons folders and delete relevant files:
Select Go > Go to Folder.
Enter /Library/Application Support and click Go or press Enter.
In the Application Support folder, look for any dubious entries and then delete them.
Now enter /Library/LaunchAgents and /Library/LaunchDaemons folders the same way and terminate all the related .plist files.






Be the first to comment