

Films Fetcher offers unlimited access to the movies
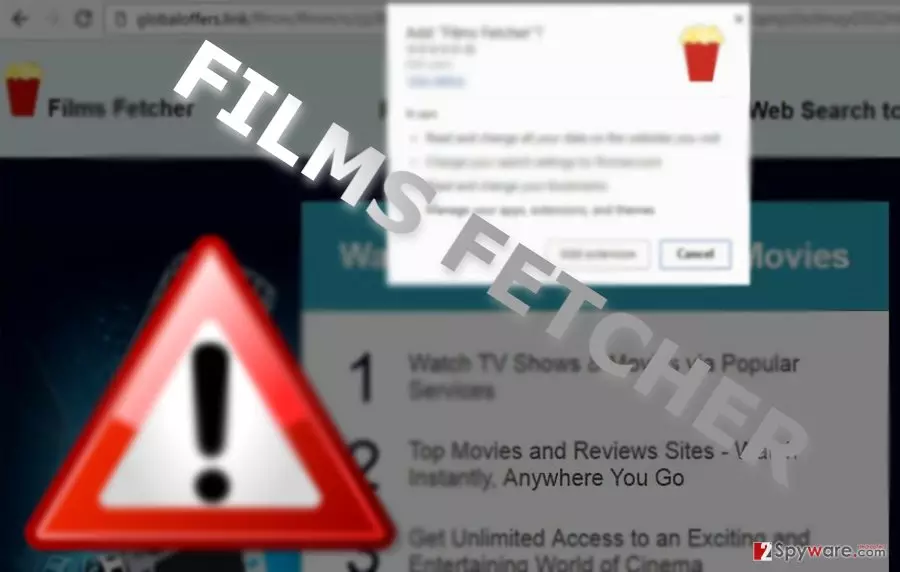
Films Fetcher virus happens to be a browser extension designed for Chrome users. However, taking into account the way this extension spreads, it has been attributed to browser hijackers. Soon you may notice the following outcomes:
- FilmFetcher.com ads may appear in legitimate domains
- Redirections to affiliated websites
- Amount of spam emails increases
In addition, though it is promoted as a Chrome extension, you cannot find in the usual way. We can assume that the PUP tends to target British users[1] more. Furthermore, the app is promoted in shady third party websites as it does not contain its official domain.
Considering such covert behavior, you may soon notice the negative aspects of the domain. If you have already installed the extension, you can uninstall it manually or remove Films Fetcher add-on faster with the assistance of FortectIntego or MalwarebytesMalwarebytes.
Myriad of applications for movie watchers
Since watching movies is one of the most common activity online, it is also one of the most common search topics among netizens. Besides such risky activity as engaging in digital piracy and downloading possibly corrupted, users are looking for cheap or free services.
Corresponding to users‘ needs, there are dozens if not hundreds of similar dubious applications. Once you enable Films Fetcher extension, your default search engine will be also replaced into flmman.com. Thus, according to the description, the PUP is able to not only spy on your activities but “manage your apps, extensions, and themes.
Likewise, due to Films Fetcher redirect tendency, you may be directed to the web pages of its partners. Regarding the way this extension spreads, it is not surprising what it cooperates with shady third parties which focus only on maximizing profits.
Therefore, the owners of such website are not interested in maintaining the security of their websites.[2] In addition, you may dislike the fact that this extension transmits your (non)personal data to its business partners. In short, you may get crowded with even more Films Fetcher ads or the commercial deals of other movie streaming websites.[3]
Expanding the network of PUP distribution
This add-on might be promoted in multiple shady web pages. If you take a look at the URL domain name, you will notice that it is ridiculously long and differs each time. By entering the same address, you will not trace the PUP.
This feature suggests that the hijacker operates via web scripts which might be placed in multiple gaming or similar movie streaming domains. Thus, Films Fetcher hijack does not exist as either way you will have to grant your initial consent installing it.
Note that within a while, the browser threat may employ “bundling” technique. Therefore, when you download any extension, make sure you opt for “Custom” settings and deselect irrelevant attachments. Now let us look through Films Fetcher removal options.
Ways to eliminate Films Fetcher extension and its web scripts
Though this extension is not considered to be malware, its side effects may be as bothersome as getting infected with a real virus. You need not only to remove Films Fetcher virus but its related browser elements. In order to so, below instructions will be of service to you.
The guide is also helpful if you decide to proceed to Films Fetcher removal. You may also get rid of the extension, search engine, and its affiliated web elements.
Uninstall from Windows
Uninstall from Windows 10/8:
- Type Control Panel into the Windows search box and open the result.
- Under Programs, select Uninstall a program.


Uninstall from Windows 7/XP:
- Click on Windows Start > Control Panel (Windows XP users should click on Add/Remove Programs).
- In Control Panel, select Programs > Uninstall a program.


Remove the unwanted program:
- In the Programs and Features window, look for any recently installed suspicious entries, select them, and click Uninstall.
- If User Account Control appears, click Yes to confirm, then complete the removal.


Delete from macOS
Remove the unwanted application:
- From the menu bar, select Go > Applications.
- In the Applications folder, look for any suspicious entries, then drag them to Trash (or right-click and pick Move to Trash).


Delete leftover files and folders:
- Select Go > Go to Folder.
- Enter /Library/Application Support and remove any suspicious folders related to the unwanted program.
- Repeat the same check in the /Library/LaunchAgents and /Library/LaunchDaemons folders, deleting any suspicious entries.

- Finally, empty the Trash to permanently remove the leftovers.

Reset Internet Explorer
Remove dangerous add-ons:
- Open Internet Explorer, click on the Gear icon (IE menu) on the top-right corner of the browser
- Pick Manage Add-ons.
- You will see a Manage Add-ons window. Here, look for suspicious plugins. Click on these entries and select Disable.


Change your homepage if it was altered:
- Open IE and click on the Gear icon.
- Select Internet Options.
- In the General tab, delete the Home page address and replace it by your preferred one (for example, Google.com).
- Click Apply and then select OK.


Delete temporary files:
- Press on the Gear icon and select Internet Options.
- Under Browsing history, click Delete...
- Select relevant fields and press Delete.


Reset Internet Explorer:
- Click on Gear icon > Internet options and select Advanced tab.
- Select Reset.
- In the new window, check Delete personal settings and select Reset.


Remove from Microsoft Edge
Delete unwanted extensions from MS Edge:
- Select Menu (three horizontal dots at the top-right of the browser window) and pick Extensions.
- From the list, pick the extension and click on the Gear icon.
- Click Remove.


Clear cookies and other browser data:
- Click on the Menu (three horizontal dots at the top-right of the browser window) and select Settings > Privacy, search, and services..
- Under Clear browsing data, pick Choose what to clear.
- Select Cookies and other site data and Cached images and files. (apart from passwords, although you might want to include Media licenses as well, if applicable) and click on Clear.


Restore new tab and homepage settings:
- Click the menu icon and choose Settings.
- Then find On startup section.
- Click Remove next to any suspicious startup page.
Reset MS Edge if the above steps did not work:
- Press on Ctrl + Shift + Esc to open Task Manager.
- Click on More details arrow at the bottom of the window.
- Select Details tab.
- Now scroll down and locate every entry with Microsoft Edge name in it. Right-click on each of them and select End Task to stop MS Edge from running.


Instructions for Chromium-based Edge
Delete extensions from MS Edge (Chromium):
- Open Edge and click select Settings > Extensions.
- Delete unwanted extensions by clicking Remove.


Clear cache and site data:
- Click on Menu and go to Settings.
- Select Privacy, search and services.
- Under Clear browsing data, pick Choose what to clear.
- Under Time range, pick All time.
- Select Clear now.


Reset Chromium-based MS Edge:
- Click on Menu and select Settings.
- On the left side, pick Reset settings.
- Select Restore settings to their default values.
- Confirm with Reset.
- This will disable extensions and reset startup pages but will not delete bookmarks, saved passwords, or browsing history.


Remove from Mozilla Firefox (FF)
Remove dangerous extensions:
- Open Mozilla Firefox browser and click on the Menu (three horizontal lines at the top-right of the window).
- Select Add-ons.
- In here, select the unwanted extension and click Remove.


Reset the homepage:
- Click three horizontal lines at the top right corner to open the menu.
- Choose Settings.
- Under Home, set your preferred homepage and new tab settings.
Clear cookies and site data:
- Click Menu and pick Settings.
- Go to Privacy & Security section.
- Scroll down to locate Cookies and Site Data.
- Click on Clear Data...
- Select Cookies and Site Data and Temporary cached files and pages, then click Clear.


Reset Mozilla Firefox
If clearing the browser as explained above did not help, reset Mozilla Firefox:
- Open Mozilla Firefox browser and click the Menu.
- Go to Help and then choose Troubleshooting Information.

- Under Give Firefox a tune up section, click on Refresh Firefox...
- Once the pop-up shows up, confirm the action by pressing on Refresh Firefox.



Remove from Google Chrome
Delete malicious extensions from Google Chrome:
- Open Google Chrome, click on the Menu (three vertical dots at the top-right corner) and select More tools > Extensions.
- In the newly opened window, you will see all the installed extensions. Uninstall all suspicious extensions related to the unwanted program by clicking Remove.


Clear cache and web data from Chrome:
- Click on Menu and pick Settings.
- Under Privacy and security, select Clear browsing data.
- Select Browsing history, Cookies and other site data, as well as Cached images and files.
- Click Clear data.


Change your homepage:
- Click menu and choose Settings.
- Look for a suspicious site in the On startup section.
- Click on Open a specific or set of pages and click on three dots to find the Remove option.
Reset Google Chrome:
If the previous methods did not help you, reset Google Chrome to eliminate all the unwanted components:
- Click on Menu and select Settings.
- In the Settings, scroll down and click Advanced.
- Scroll down and locate Reset and clean up section.
- Now click Restore settings to their original defaults.
- Confirm with Reset settings.


Delete from Safari
Remove dangerous extensions:
- Open Safari, click Safari in the menu at the top-left of the screen, and select Preferences.
- Go to the Extensions tab, look for any suspicious entries, and click Uninstall to remove them.


Clear history and website data:
- Click Safari in the menu and pick Clear History.
- Set Clear to all history and confirm with Clear History.


Reset Safari:
- Click Safari in the menu and select Preferences > Advanced.
- Enable Show Develop menu in menu bar.
- From the menu bar, click Develop and select Empty Caches.


Did this guide help?
Be the first to comment