

Are Netutils ads trustworthy?
The user complaints and reports about the “Netutils virus” do not simply allow to categorize this program as trustworthy. On the other hand, it is not malicious either. “Potentially unwanted” is probably the best term to describe it. Programs that are classified as potentially unwanted are known for spying, tracking information, involving the users in extensive online advertising schemes and messing with their browsing traffic. This particular infection is ad-based, so the main problem you will have to deal with if it hits your computer will most likely be the Netutils ads. Below, we will take a look at this issue in more detail and discuss the ways this infection can affect your computer’s performance. If you already had the “pleasure” of experiencing all the inconveniences yourself and simply want to remove Netutils from your PC as soon as possible, scan it with FortectIntego, a reputable anti-virus software which cleans up your system in no time.
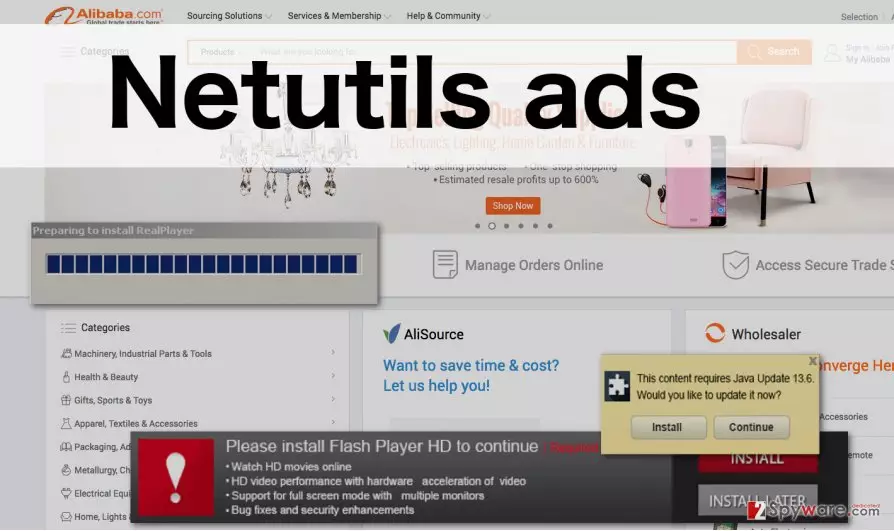
“Ads by Netutils,” “Netutils Ads,” “Brought by Netutils” are just a few examples of the slogans you will start seeing next to the online advertisements as soon as this virus enters your computer. The ads will probably be extremely intrusive, cause you to leave the visited websites simply because their content will be impossible to read. Such extensive advertising is a strategy the adware creators use to force the users into generating the pay-per-click revenue. The ads are sponsored by Netutils affiliates so the creators of this advertising software will try their best to prove this software worthwhile. They may even implement tracking software into your browser to have more information about your interests. This allows the creators of Netutils redirect the users to specific sites that may evoke their interest. More commonly, though, this adware will drop you off at random websites which are unable to attract users themselves. If you want to support them – you are free to do that, but remember that such low-popularity sites may also promote malicious content, infect your computer with malware or steal your data. We recommend you not to risk it and perform the Netutils removal without hesitation.
When is your system most susceptible to this infection?
Undoubtedly, system’s vulnerability to malware infections drastically decreases when it is not shielded by additional software, like antivirus, anti-malware or anti-spyware. So, if you do not have one yet, hurry to obtain it and schedule frequent system scans. Regular system updates are also necessary to keep your device in the best condition. It is also advisable to keep your software up-to-date as well. This way you will be less more likely to obtain corrupted updates potentially offered to you by Netutils. Finally, sometimes even the best antivirus software or latest security updates cannot guard you against downloading adware on your computer along with other software. To avoid that, you should know how to install software properly. It is not difficult. Just make sure you choose “Advanced” or “Custom” modes, look for the list of all the components included in your downloaded software package and opt out the installation of unknown and undesirable applications like Netutils.
Why do we recommend removing Netutils automatically?
If you think that you can casually remove Netutils, get rid of its annoying ads and get back to your regular browsing, you may have to think twice. You won’t find a software labeled “Netutils” on your computer, nor will this program run on your Task Manager. This adware can feature practically any title and hide deep in your system. Finding it manually may take a painstakingly long time, thus a more reasonable option would be to employ automatic anti-virus scanners and let the professional software to take care of it. We still provide manual Netutils removal instructions below the article, in case you encountered some problems eliminating it automatically.
Uninstall from Windows
Uninstall from Windows 10/8:
- Type Control Panel into the Windows search box and open the result.
- Under Programs, select Uninstall a program.


Uninstall from Windows 7/XP:
- Click on Windows Start > Control Panel (Windows XP users should click on Add/Remove Programs).
- In Control Panel, select Programs > Uninstall a program.


Remove the unwanted program:
- In the Programs and Features window, look for any recently installed suspicious entries, select them, and click Uninstall.
- If User Account Control appears, click Yes to confirm, then complete the removal.


Delete from macOS
Remove the unwanted application:
- From the menu bar, select Go > Applications.
- In the Applications folder, look for any suspicious entries, then drag them to Trash (or right-click and pick Move to Trash).


Delete leftover files and folders:
- Select Go > Go to Folder.
- Enter /Library/Application Support and remove any suspicious folders related to the unwanted program.
- Repeat the same check in the /Library/LaunchAgents and /Library/LaunchDaemons folders, deleting any suspicious entries.

- Finally, empty the Trash to permanently remove the leftovers.

Remove from Microsoft Edge
Delete unwanted extensions from MS Edge:
- Select Menu (three horizontal dots at the top-right of the browser window) and pick Extensions.
- From the list, pick the extension and click on the Gear icon.
- Click Remove.


Clear cookies and other browser data:
- Click on the Menu (three horizontal dots at the top-right of the browser window) and select Settings > Privacy, search, and services..
- Under Clear browsing data, pick Choose what to clear.
- Select Cookies and other site data and Cached images and files. (apart from passwords, although you might want to include Media licenses as well, if applicable) and click on Clear.


Restore new tab and homepage settings:
- Click the menu icon and choose Settings.
- Then find On startup section.
- Click Remove next to any suspicious startup page.
Reset MS Edge if the above steps did not work:
- Press on Ctrl + Shift + Esc to open Task Manager.
- Click on More details arrow at the bottom of the window.
- Select Details tab.
- Now scroll down and locate every entry with Microsoft Edge name in it. Right-click on each of them and select End Task to stop MS Edge from running.


Instructions for Chromium-based Edge
Delete extensions from MS Edge (Chromium):
- Open Edge and click select Settings > Extensions.
- Delete unwanted extensions by clicking Remove.


Clear cache and site data:
- Click on Menu and go to Settings.
- Select Privacy, search and services.
- Under Clear browsing data, pick Choose what to clear.
- Under Time range, pick All time.
- Select Clear now.


Reset Chromium-based MS Edge:
- Click on Menu and select Settings.
- On the left side, pick Reset settings.
- Select Restore settings to their default values.
- Confirm with Reset.
- This will disable extensions and reset startup pages but will not delete bookmarks, saved passwords, or browsing history.


Remove from Mozilla Firefox (FF)
Remove dangerous extensions:
- Open Mozilla Firefox browser and click on the Menu (three horizontal lines at the top-right of the window).
- Select Add-ons.
- In here, select the unwanted extension and click Remove.


Reset the homepage:
- Click three horizontal lines at the top right corner to open the menu.
- Choose Settings.
- Under Home, set your preferred homepage and new tab settings.
Clear cookies and site data:
- Click Menu and pick Settings.
- Go to Privacy & Security section.
- Scroll down to locate Cookies and Site Data.
- Click on Clear Data...
- Select Cookies and Site Data and Temporary cached files and pages, then click Clear.


Reset Mozilla Firefox
If clearing the browser as explained above did not help, reset Mozilla Firefox:
- Open Mozilla Firefox browser and click the Menu.
- Go to Help and then choose Troubleshooting Information.

- Under Give Firefox a tune up section, click on Refresh Firefox...
- Once the pop-up shows up, confirm the action by pressing on Refresh Firefox.



Remove from Google Chrome
Delete malicious extensions from Google Chrome:
- Open Google Chrome, click on the Menu (three vertical dots at the top-right corner) and select More tools > Extensions.
- In the newly opened window, you will see all the installed extensions. Uninstall all suspicious extensions related to the unwanted program by clicking Remove.


Clear cache and web data from Chrome:
- Click on Menu and pick Settings.
- Under Privacy and security, select Clear browsing data.
- Select Browsing history, Cookies and other site data, as well as Cached images and files.
- Click Clear data.


Change your homepage:
- Click menu and choose Settings.
- Look for a suspicious site in the On startup section.
- Click on Open a specific or set of pages and click on three dots to find the Remove option.
Reset Google Chrome:
If the previous methods did not help you, reset Google Chrome to eliminate all the unwanted components:
- Click on Menu and select Settings.
- In the Settings, scroll down and click Advanced.
- Scroll down and locate Reset and clean up section.
- Now click Restore settings to their original defaults.
- Confirm with Reset settings.


Delete from Safari
Remove dangerous extensions:
- Open Safari, click Safari in the menu at the top-left of the screen, and select Preferences.
- Go to the Extensions tab, look for any suspicious entries, and click Uninstall to remove them.


Clear history and website data:
- Click Safari in the menu and pick Clear History.
- Set Clear to all history and confirm with Clear History.


Reset Safari:
- Click Safari in the menu and select Preferences > Advanced.
- Enable Show Develop menu in menu bar.
- From the menu bar, click Develop and select Empty Caches.


Did this guide help?
2 comments
ProbleoPack
Its been just so much of a struggle since it hijacked my PC. You guys helped me get rid of it! Thanks!
Juan Querro
Never keep suspicious programs running on your computer! they will just drain your resources and annoy you to death with its sponsored ads