Ultimate Volume Booster is a fake browser extension that does not deliver on its promises
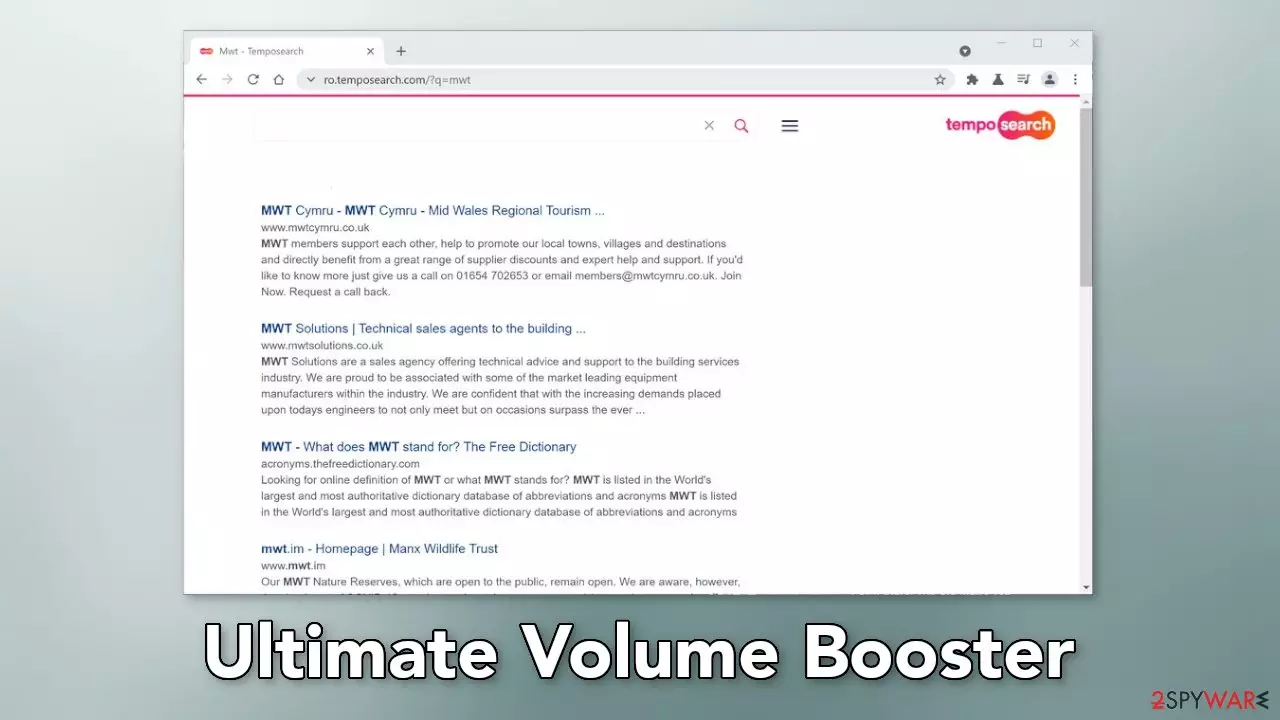
Ultimate Volume Booster is a browser extension that causes spam and the main settings to change. That is why it is classified as a browser hijacker. Users who have this application installed may notice an increased amount of commercial content, like pop-ups, banners, and redirects. A different homepage, new tab address, and search engine can also be appointed.
People are forced to browse only through selected channels which raises user privacy and security concerns. The web-based application was developed for the purpose of generating revenue from PPC advertising,[1] so crooks can use rogue advertising networks that place ads leading to dangerous websites.
If they click on the links embedded in the pop-ups, users can end up on pages that use social engineering to trick people into providing their personal information, downloading PUPs (potentially unwanted programs),[2] or even malware. Fraudsters could also be asking for credit card details which could result in monetary losses.
NAME
Ultimate Volume Booster
TYPE
Browser hijacker; potentially unwanted program
SYMPTOMS
An extension is added to the browser; the homepage and new tab address are altered; a different search engine is implemented; sponsored links are displayed in the results
Inaccurate search results, sponsored links can lead to dangerous pages that want to get users' personal information
ELIMINATION
You can remove an extension via browser settings or by deploying professional security software
FURTHER STEPS
After elimination is complete, clean your web browsers and repair system files. You can do that automatically with FortectIntego
Distribution methods
Ultimate Volume Booster was found to be spread through the Chrome web store. Even though we always tell our readers that official web stores are the safest, you should still do your research – read the reviews, look at the ratings, and the number of users. You should also always read the description fully. Look for grammar or spelling mistakes. If there are any, that should raise suspicion.
Other than the web stores, users download PUPs from unofficial pages that distribute freeware.[3] The creators of these sites still need to make money so they use software bundling.[4] They include additional programs in the installers that generate revenue in different ways. Of course, that is not disclosed on these websites, so if users rush through the installation process and do not notice this, they install the PUA together with the desired software.
To avoid this, next time go through all the installation steps. Choose the “Custom” or “Advanced” installation method, read the Terms of Use and the Privacy Policy. Most importantly, check the files up for installation. If you see any suspicious apps that look completely unrelated, untick the boxes next to their names.
How to get rid of a browser hijacker?
Generally, browser extensions are created to provide users some benefits, like masking the location, blocking ads, and suspicious links, or automatically finding discount coupons while shopping online. People add them when they see promotions and good reviews.
Ultimate Volume Booster claims to be able to increase volume by 500%. However, these claims are false. You can remove browser add-ons by going to your settings. Find the list of extensions installed in your browser and remove any suspicious ones. We show how to do that in the guide below:
Google Chrome
Open Google Chrome, click on the Menu (three vertical dots at the top-right corner) and select More tools > Extensions.
In the newly opened window, you will see all the installed extensions. Uninstall all the suspicious plugins that might be related to the unwanted program by clicking Remove.
MS Edge:
Select Menu (three horizontal dots at the top-right of the browser window) and pick Extensions.
From the list, pick the extension and click on the Gear icon.
Click on Uninstall at the bottom.
MS Edge (Chromium)
Open Edge and click select Settings > Extensions.
Delete unwanted extensions by clicking Remove.
Mozilla Firefox
Open Mozilla Firefox browser and click on the Menu (three horizontal lines at the top-right of the window).
Select Add-ons.
In here, select unwanted plugin and click Remove.
Safari
Click Safari > Preferences…
In the new window, pick Extensions.
Select the unwanted extension and select Uninstall.
Protect your browsing history
You should get rid of all the data that might have been collected about you, while the intruder was in your machine. Web-based applications can use cookies[5] to keep track of data like your IP address, geolocation, pages you visit, links you click on, and things you purchase online.
For this, you need a maintenance tool – FortectIntego, which is a multi-purpose maintenance software. It will fully clear your browsers from cookies and cache, which will result in better performance of your machine. Besides that, it can fix various complicated system errors that are caused by corrupted files, and registry issues, which is especially helpful after a virus infection.
PUP elimination process
If the previous removal method did not get rid of the hijacker, that means that you might have a PUA installed in your system. In this case, if you try to change the homepage or other settings to the way they were before, or remove the add-on, the PUP will just keep messing up with the settings until it is eliminated from the machine.
The program that is causing settings changes could have any name or icon, so if you are not sure what to do and you do not want to risk deleting the wrong files, we suggest using SpyHunterCombo Cleaner or MalwarebytesMalwarebytes anti-malware tools that will scan your machine, eliminate it, and prevent such infections in the future by giving you a warning before a PUP can make any changes. If manual removal is what you still prefer, we have instructions for Windows and Mac machines:
Windows 10/8:
Enter Control Panel into Windows search box and hit Enter or click on the search result.
Under Programs, select Uninstall a program.
From the list, find the entry of the suspicious program.
Right-click on the application and select Uninstall.
If User Account Control shows up, click Yes.
Wait till uninstallation process is complete and click OK.
Windows 7/XP:
Click on Windows Start >Control Panel located on the right pane (if you are Windows XP user, click on Add/Remove Programs).
In Control Panel, select Programs > Uninstall a program.
Pick the unwanted application by clicking on it once.
At the top, click Uninstall/Change.
In the confirmation prompt, pick Yes.
Click OK once the removal process is finished.
Mac:
From the menu bar, select Go > Applications.
In the Applications folder, look for all related entries.
Click on the app and drag it to Trash (or right-click and pick Move to Trash)
To fully remove an unwanted app, you need to access Application Support, LaunchAgents, and LaunchDaemons folders and delete relevant files:
Select Go > Go to Folder.
Enter /Library/Application Support and click Go or press Enter.
In the Application Support folder, look for any dubious entries and then delete them.
Now enter /Library/LaunchAgents and /Library/LaunchDaemons folders the same way and terminate all the related .plist files.






Be the first to comment