

The Weather Mom is a useless browser extension that can change the main settings
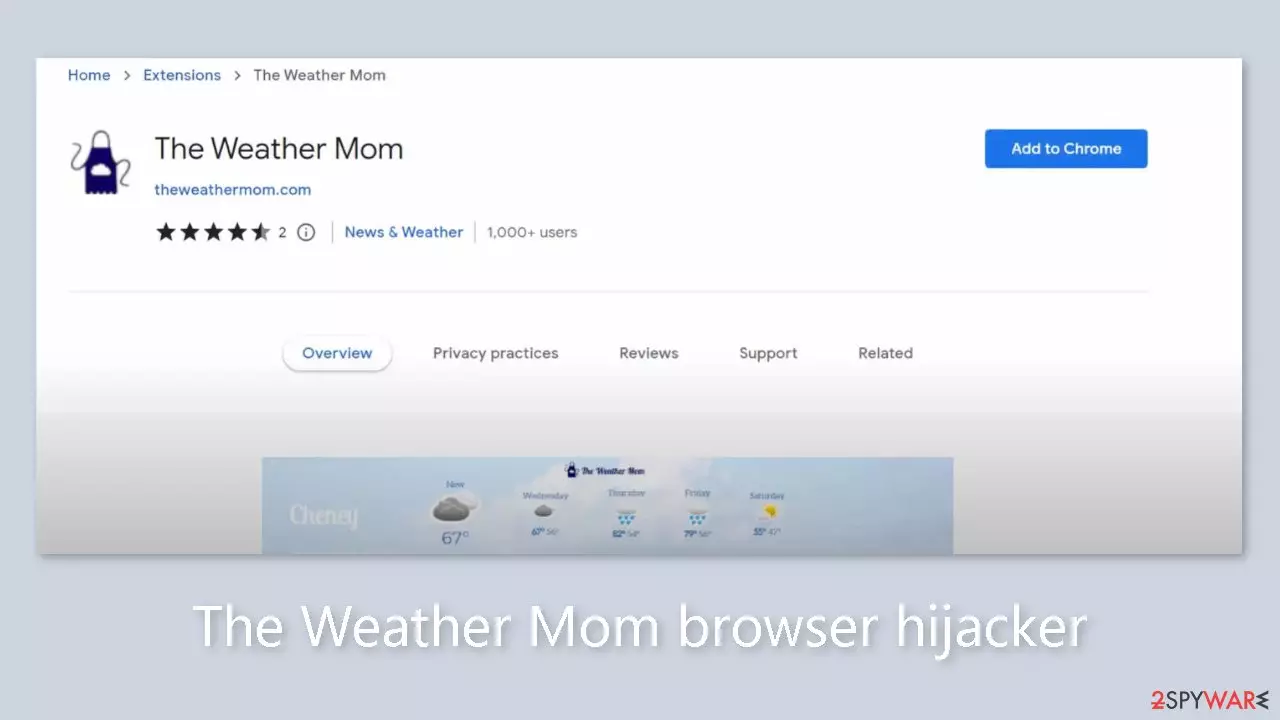
Unwanted software like The Weather Mom can seriously impair a user's internet experience. It gains control over crucial settings including the homepage, new tab address, and search engine once it has infiltrated the browser as a plugin. This abrupt and unexpected transformation often causes substantial distress among users, who may initially suspect a virus infection.
This kind of browser hijacking is a recurring problem that doesn't seem to be getting any better. Unfortunately, it primarily benefits developers at the expense of users. Similar programs that can manipulate browser data and change on-screen content include NXD Fix, Zodiac Search, and Swift Searcher, all of which we have previously discussed.
Setting adjustments frequently have little effect because they tend to go back to their original configuration quickly. The only effective solution is to completely remove The Weather Mom extension from your browser. We'll give a thorough explanation of how to achieve so in this article, as well as shed some light on how such programs are typically distributed online.
| NAME | The Weather Mom |
| TYPE | Browser hijacker; potentially unwanted program |
| SYMPTOMS | An extension is added to the browser; homepage and new tab address are altered; a different search engine is implemented; sponsored links are displayed in the results |
| DISTRIBUTION | Shady websites, deceptive ads, freeware installations |
| DANGERS | Inaccurate search results, and sponsored links can lead to dangerous pages that want to get users' personal information |
| ELIMINATION | You can remove an extension via browser settings or by deploying professional security software |
| FURTHER STEPS | After elimination is complete, clean your web browsers and repair system files. You can do that automatically with FortectIntego |
Review of the plugin
Browser extensions are quite prevalent and can be useful tools for users wishing to add extra functionality to their browsing experience. These add-ons can provide users advantages like ad-free browsing, defense against dangerous websites, and immediate access to the top online coupon codes.
The Weather Mom plugin, in contrast, arbitrarily changes browser preferences, essentially pressuring users to perform web searches using its established setups. Using a maintenance tool like FortectIntego is advised to successfully remove various tracking mechanisms. Such a solution can successfully stop annoying trackers by automatically clearing browser data. Additionally, by removing temporary files, this maintenance program improves device speed and can handle more serious system issues like file corruption, registry issues, and blue screen errors (BSODs).
This emphasizes how crucial it is to do research before deciding which services and goods to include in your browsing. You can prevent unexpected surprises by carefully reading the features of an extension in your browser settings. It's important to note that, unless it's a potentially undesirable program (PUP) covertly hiding within your system, add-ons typically cannot penetrate your system without your explicit authorization.

Distribution techniques
Typically, extensions created to make money off of users' online actions are distributed through dodgy websites full of misleading adverts and redirects. Therefore, we continually stress that these infections are primarily the result of users' own actions and their occasionally careless online conduct. Unfortunately, many people ignore cybersecurity professionals' recommendations and frequently visit websites that engage in illegal, unregulated activity.
Platforms for the distribution of freeware are another common way that these programs spread. With the hope that most users won't notice, site administrators looking to make money frequently include extra apps in installers without sufficient notification. Sadly, this situation occurs far too frequently. Different removal methods can be necessary, depending on how the extension got into your browser.
Remove the plugin via browser settings
First, let's open your browser and remove the extension that is causing the settings to change. You can find instructions for Mozilla Firefox, MS Edge, and Safari, below this post.
Delete malicious extensions from Google Chrome:
- Open Google Chrome, click on the Menu (three vertical dots at the top-right corner) and select More tools > Extensions.
- In the newly opened window, you will see all the installed extensions. Uninstall all the suspicious plugins that might be related to the unwanted program by clicking Remove.


Clear cache and web data from Chrome:
- Click on Menu and pick Settings.
- Under Privacy and security, select Clear browsing data.
- Select Browsing history, Cookies and other site data, as well as Cached images and files.
- Click Clear data.


Change your homepage:
- Click menu and choose Settings.
- Look for a suspicious site in the On startup section.
- Click on Open a specific or set of pages and click on three dots to find the Remove option.
Reset Google Chrome:
If the previous methods did not help you, reset Google Chrome to eliminate all the unwanted components:
- Click on Menu and select Settings.
- In the Settings, scroll down and click Advanced.
- Scroll down and locate Reset and clean up section.
- Now click Restore settings to their original defaults.
- Confirm with Reset settings.


Remove the add-on from your system
As was previously said, it's possible that the symptoms you're currently experiencing were brought on by the existence of a potentially unwanted program (PUP) that snuck in during the installation of freeware installed from unreliable sources. It's crucial to develop certain preventative practices if you want to avoid similar incidents in the future. Don't rush the installation procedure and try not to skip any steps. Select the “Custom” or “Advanced” installation options whenever possible, and uncheck any boxes next to any programs that are not necessary from the presented list.
We advise using specialized security tools like SpyHunterCombo Cleaner or MalwarebytesMalwarebytes in the event that removing a PUP turns out to be relatively challenging, especially if its name differs from the one that shows in your browser. These tools are skilled at inspecting your system and eliminating these undesirable entities on their own. Antivirus software, in particular, can identify and address suspicious background processes effectively.
If you know what application you need to get rid of, you can follow the step-by-step instructions for Windows and Mac:
Windows 10/8:
- Enter Control Panel into Windows search box and hit Enter or click on the search result.
- Under Programs, select Uninstall a program.

- From the list, find the entry of the suspicious program.
- Right-click on the application and select Uninstall.
- If User Account Control shows up, click Yes.
- Wait till uninstallation process is complete and click OK.



Windows 7/XP:
- Click on Windows Start > Control Panel located on the right pane (if you are Windows XP user, click on Add/Remove Programs).
- In Control Panel, select Programs > Uninstall a program.

- Pick the unwanted application by clicking on it once.
- At the top, click Uninstall/Change.
- In the confirmation prompt, pick Yes.
- Click OK once the removal process is finished.

Mac:
- From the menu bar, select Go > Applications.
- In the Applications folder, look for all related entries.
- Click on the app and drag it to Trash (or right-click and pick Move to Trash)


To fully remove an unwanted app, you need to access Application Support, LaunchAgents, and LaunchDaemons folders and delete relevant files:
- Select Go > Go to Folder.
- Enter /Library/Application Support and click Go or press Enter.
- In the Application Support folder, look for any dubious entries and then delete them.
- Now enter /Library/LaunchAgents and /Library/LaunchDaemons folders the same way and terminate all the related .plist files.


Remove from Microsoft Edge
Delete unwanted extensions from MS Edge:
- Select Menu (three horizontal dots at the top-right of the browser window) and pick Extensions.
- From the list, pick the extension and click on the Gear icon.
- Click Remove.


Clear cookies and other browser data:
- Click on the Menu (three horizontal dots at the top-right of the browser window) and select Settings > Privacy, search, and services..
- Under Clear browsing data, pick Choose what to clear.
- Select Cookies and other site data and Cached images and files. (apart from passwords, although you might want to include Media licenses as well, if applicable) and click on Clear.


Restore new tab and homepage settings:
- Click the menu icon and choose Settings.
- Then find On startup section.
- Click Remove next to any suspicious startup page.
Reset MS Edge if the above steps did not work:
- Press on Ctrl + Shift + Esc to open Task Manager.
- Click on More details arrow at the bottom of the window.
- Select Details tab.
- Now scroll down and locate every entry with Microsoft Edge name in it. Right-click on each of them and select End Task to stop MS Edge from running.


Instructions for Chromium-based Edge
Delete extensions from MS Edge (Chromium):
- Open Edge and click select Settings > Extensions.
- Delete unwanted extensions by clicking Remove.


Clear cache and site data:
- Click on Menu and go to Settings.
- Select Privacy, search and services.
- Under Clear browsing data, pick Choose what to clear.
- Under Time range, pick All time.
- Select Clear now.


Reset Chromium-based MS Edge:
- Click on Menu and select Settings.
- On the left side, pick Reset settings.
- Select Restore settings to their default values.
- Confirm with Reset.
- This will disable extensions and reset startup pages but will not delete bookmarks, saved passwords, or browsing history.


Remove from Mozilla Firefox (FF)
Remove dangerous extensions:
- Open Mozilla Firefox browser and click on the Menu (three horizontal lines at the top-right of the window).
- Select Add-ons.
- In here, select the unwanted extension and click Remove.


Reset the homepage:
- Click three horizontal lines at the top right corner to open the menu.
- Choose Settings.
- Under Home, set your preferred homepage and new tab settings.
Clear cookies and site data:
- Click Menu and pick Settings.
- Go to Privacy & Security section.
- Scroll down to locate Cookies and Site Data.
- Click on Clear Data...
- Select Cookies and Site Data and Temporary cached files and pages, then click Clear.


Reset Mozilla Firefox
If clearing the browser as explained above did not help, reset Mozilla Firefox:
- Open Mozilla Firefox browser and click the Menu.
- Go to Help and then choose Troubleshooting Information.

- Under Give Firefox a tune up section, click on Refresh Firefox...
- Once the pop-up shows up, confirm the action by pressing on Refresh Firefox.



Delete from Safari
Remove dangerous extensions:
- Open Safari, click Safari in the menu at the top-left of the screen, and select Preferences.
- Go to the Extensions tab, look for any suspicious entries, and click Uninstall to remove them.


Clear history and website data:
- Click Safari in the menu and pick Clear History.
- Set Clear to all history and confirm with Clear History.


Reset Safari:
- Click Safari in the menu and select Preferences > Advanced.
- Enable Show Develop menu in menu bar.
- From the menu bar, click Develop and select Empty Caches.


Did this guide help?
Be the first to comment