Reimage tutorial
Introduction to Reimage
Reimage is an effective Windows repair tool that is compatible with Windows 7/8/10/Vista/XP operating systems. This software can help you fix numerous Windows errors, Blue Screen of Death (BSoD)[1], virus damage, and replace missing or corrupted DLLs.
According to the experts, Reimage Repair scans the computer for issues and generates a report which classifies the detected problems into the following categories:
- Hardware;
- Security;
- Stability.
The Hardware category includes the check-up of Random Access Memory (RAM), Computer Processing Unit (CPU) power usage, and Hard Drive (HD)[2] speed. After the Reimage scan, users are provided with suggestions on which hardware parts might be replaced to maximize the computer's performance.
Furthermore, as Reimage cooperates with Avira AntiVir software, it uses a large virus database to identify cyber threats on the device. The security category includes the detection of various potentially unwanted programs (PUPs)[3], including browser hijackers, adware, spyware, or even Trojan horses.
Additionally, Reimage Repair provides information about the computer's stability. In other terms, users can learn which programs and applications crash most often and how frequently. At the end of the scan, people can compare their systems' profiles with the worldwide average and receive a quick summary of the detected problems.
All in all, Reimage is a useful tool when trying to optimize your computer's performance. Although, users should be aware that this application should be used as a complementary tool to another security program — Reimage can only fix virus damage once the cyber threat is eliminated by antivirus or put into quarantine. Learn more by reading Reimage review.
Download and install Reimage Repair
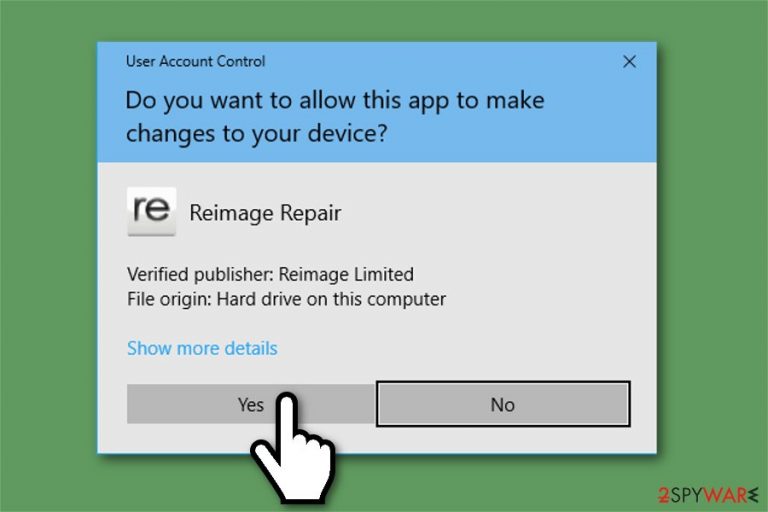
You can download FortectIntego. Once you download the application, you will be prompted to User Account Control (UAC)[4] pop-up window asking you to allow changes to your device. Click Yes as shown below:
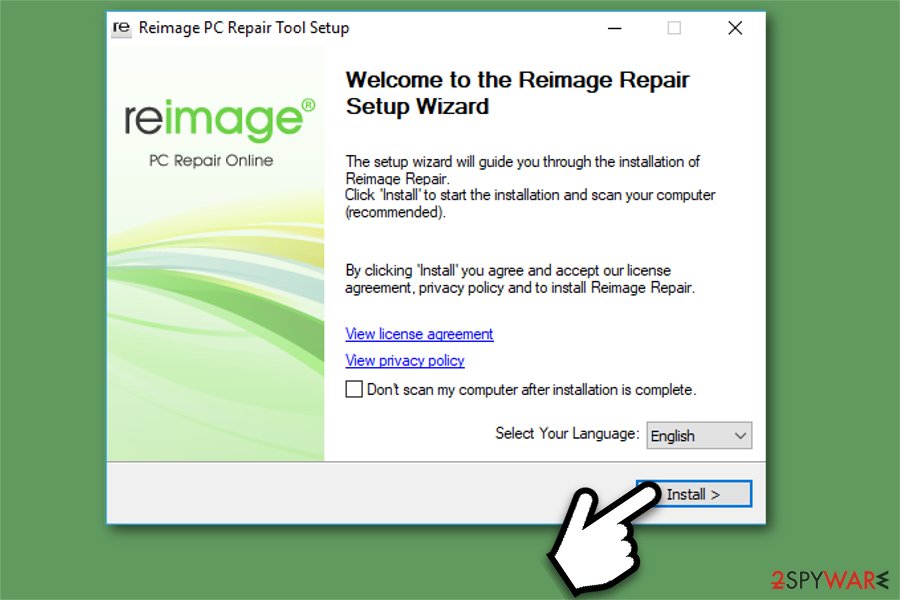
Once the Reimage installation wizard opens, you should select the language you prefer and click Install button. Note that after the installation, this system optimization tool will automatically start a full system scan unless you tick “Don't scan my computer after the installation is complete” box.
Note that Reimage Repair is compatible with the following operating systems:
- Windows 10 (32 & 64bit);
- Windows 8 (32 & 64bit);
- Windows 7 (32 & 64bit);
- Windows Vista (32 & 64bit);
- Windows XP (32bit);
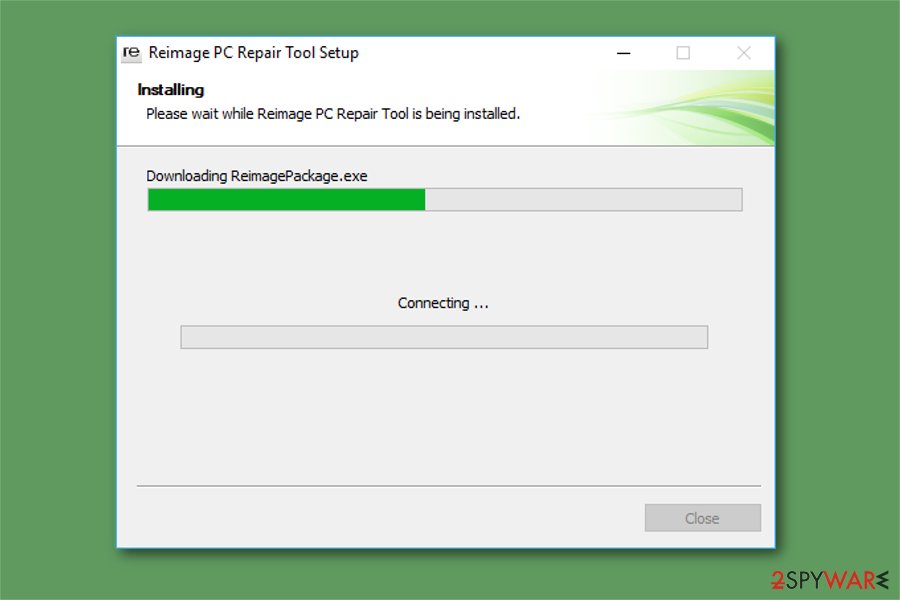
Developers say that the installation shouldn't take more than 5 minutes. Wait for it to complete and you are ready to use the application right away. If you have accidentally installed it on an unsupported device, learn how to uninstall Reimage.
Scan your computer with Reimage
Once you installed Reimage, it should scan your computer automatically. Although, you can start the scan manually as well. For that, open Reimage by double-clicking on the desktop icon. You will be asked to select whether you are a new user or you already have a Reimage license key.
New users should select the first option and let Reimage scan their devices. Usually, the software goes over five stages during the scan, including the following:
- Compiling data;
- Creating your PC profile;
- Checking PC stability;
- Monitoring PC security;
- Providing a summary.
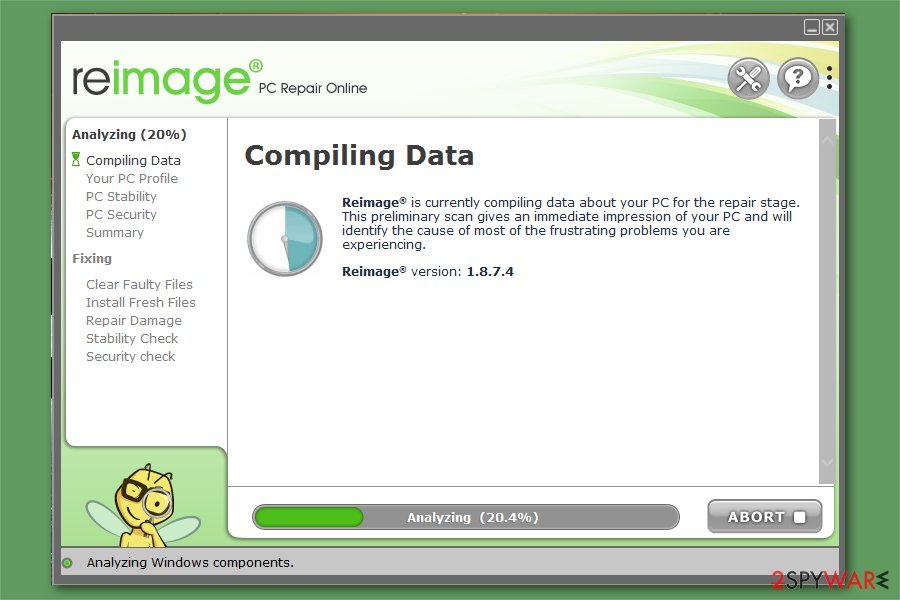
First, Reimage starts compiling data about your computer. This includes checking free memory space, CPU usage, and hard disk speed. This gives an immediate impression about your system and present issues.
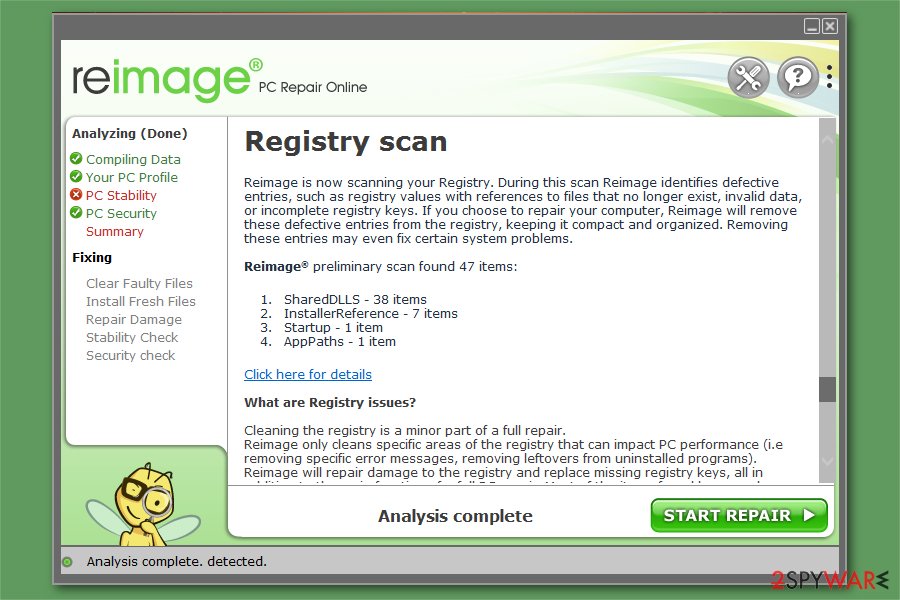
Later, Reimage Repair checks shared DLLs, application paths, outdated registries, and startup entries. Cleaning registry[5] values that no longer exist can help improve computer's performance significantly.
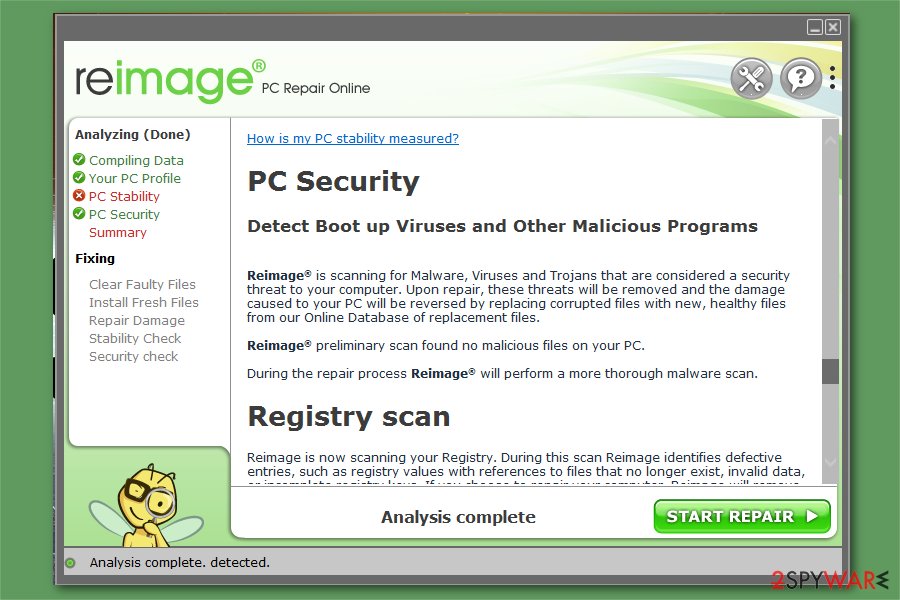
Further scan consists of checking the computer files with virus database items to ensure that there are no cyber threats present on the system.
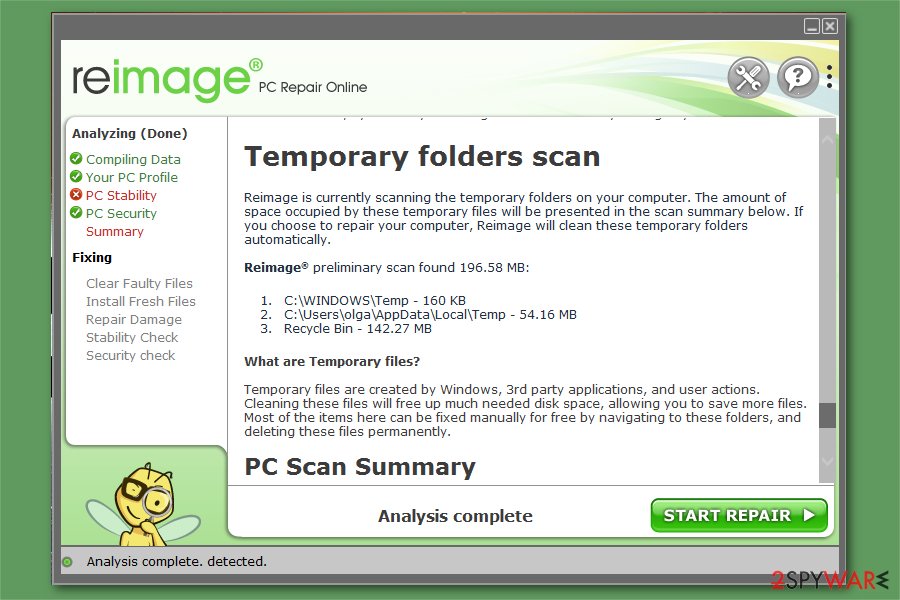
Finally, Reimage scans temporary folders which might include junk items that are taking up free space on your computer.
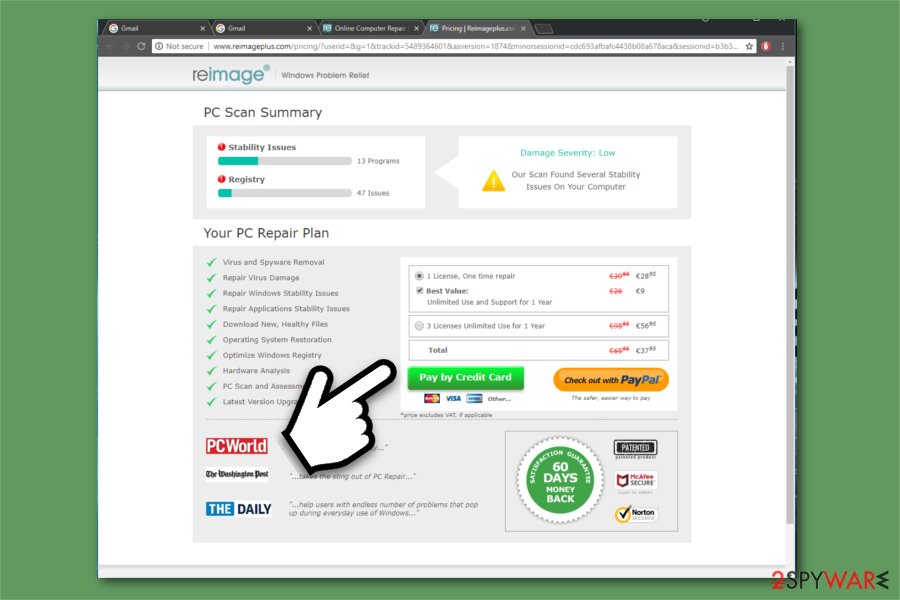
After the scan, users who want to repair detected issues should click on the “Start repair” button. They will be prompted to Reimage purchase page where they can purchase a one-time repair for $28.95 or get a year license with unlimited repair number for an additional $9. The full version of Reimage costs $37.95 for a basic computer user.
- ^ Tim Fisher. Blue Screen of Death (BSOD). Lifewire. Tech How-To Guides & Tutorials.
- ^ Hard drive. Computer Hope. Free Computer Help.
- ^ Margaret Rouse. PUP (potentially unwanted program). SearchSecurity. TechTarget.
- ^ User Account Control. Wikipedia. The Free Encyclopedia.
- ^ What's the Registry, Should I Clean It, and What's the Point?. Lifehacker. Do everything better.
