

VirtualGuest is a type of malicious software for Macs that might cause serious privacy and security risks
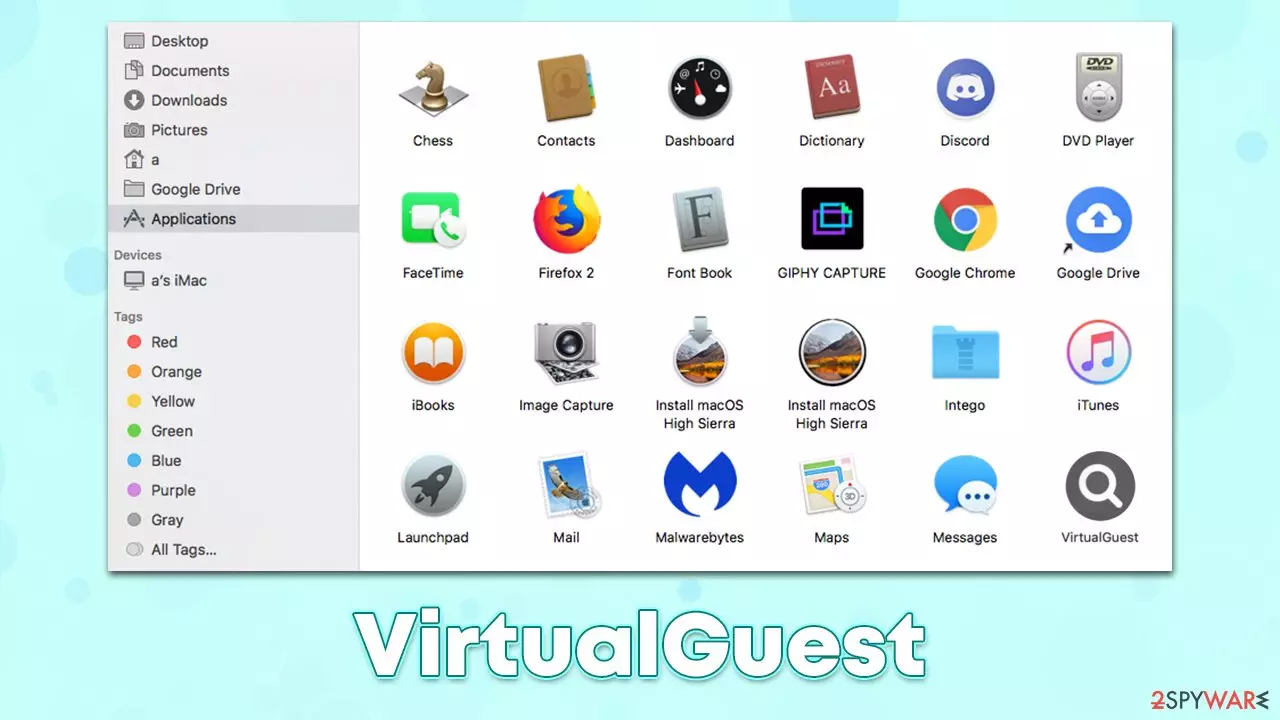
VirtualGuest is a member of a prominent malware family known as Adload. It only specifically targets Mac machines and has been around since at least 2018 – hundreds of variants of the virus have been released since then. Primarily, it is categorized as adware due to its main goal being to generate revenue through various advertisements and additional potentially unwanted application installs. Nonetheless, due to various malicious distribution, operation, and obfuscation techniques, many security vendors tend to classify it as a Trojan or simply malware.
Distribution
Just as it is common in all the other versions of this malware, VirtualGuest is distributed using deceptive methods – fake Flash Player update prompts and cracked software installers. It goes without saying that it is never installed on purpose thanks to this.
Flash Player has been an outdated technology that is no longer used, and all modern web browsers have their functionality embedded. However, many users still know it as something required to view multimedia content, hence they believe it is still necessary. In fact, Adobe has discontinued the plugin,[1] so all the prompts to update it are fake.
High-risk websites that distribute illegal installers of popular programs and video games are commonly used to trick users into installing malware. The best thing to do is never download any files from such websites and instead purchase the official license to use the software.
Operation
The main purpose of VirtualGuest is to ensure that users are fed with a steady flow of ads. For that, the virus installs an extension that changes the homepage and the search provider to something else (previously, it was spotted to swap to Safe Finder and deliver results through Yahoo) and then delivers sponsored links at the top of the results. These might be legitimate in most cases but might also include ads that would make people more likely to install potentially unwanted applications or malware.
The worst part of this is that the extension is installed with elevated permissions, which allows it to harvest sensitive information that is typed into the browser, such as credit card data or passwords. Thus, having an extension installed on the system makes it a huge privacy hazard.
Persistence
Despite how the virus is distributed, users always have to type in their Apple ID before installing the application. Thus, they give their permission to do so and, thanks to several tricks VirtualGuest uses, it manages to root itself well within the system. To be more precise, AppleScript is commonly used to make changes to the infected systems, and new Login Items, Profiles, Plist files, and other items are created automatically. Due to this, the easiest way to remove the infection is by employing powerful anti-malware software.
| name | VirtualGuest |
|---|---|
| Type | Mac virus, adware, browser hijacker |
| Family | Adload |
| Distribution | Usually spread via fake Flash Player updates or software bundles downloaded from pirated software sites |
| Symptoms | An extension installed on the browser with elevated permissions, along with an application of the same name; new profiles and login items set up on the account; malicious ads shown during web browsing activities; search and browsing settings altered to Safe Finder or another search provider |
| Risks | Installation of other PUAs or malware without permission, personal information theft, monetary losses |
| Removal | The easiest way to eliminate unwarned and malicious software on Macs is by performing a full system scan with SpyHunterCombo Cleaner security software. Alternatively, you can attempt to terminate the infection manually |
| Other tips | After you terminate the infection with all its associated components, we recommend you also scan your machine with FortectIntego to clean your browsers and other leftover files from the virus |
The myth that Macs can't get infected with malware has long been debunked, and it is time for users of these sophisticated machines to realize that they also need to take as many precautionary measures as possible. In a study published by MalwarebytesLabs back in 2020, it was revealed that malware is targeting Macs at a higher pace than it does Windows.[2]
Indeed, while by far the most dominant category is adware, its severity is often quite a bit bigger than adware dedicated to Windows devices. Therefore, once you remove the infection from your system, please make sure you take steps to protect it in the future and be warier that high-risk websites can be extremely dangerous.

VirtualGuest removal explained
Thanks to various persistence mechanisms, the virus might be much more difficult to remove than your typical adware. Since malware bypasses the detection of the built-in Mac defenses once the permission by the tricked users is given, it can root itself even deeper into the system and even start downloading additional payloads. In fact, machines infected with Adload versions also had dangerous malware installed on them too, such as Shlayer Trojan.[3]
Due to these simple but rather effective methods, removing the virus manually might be difficult and even impossible for most regular users. Instead, we recommend performing a full system scan with powerful security software, such as SpyHunterCombo Cleaner or MalwarebytesMalwarebytes, which can eliminate all the malicious components automatically.
We also provide manual steps below in case you need them. In fact, combining both methods is likely to produce the most effective results when dealing with VirtualGuest virus removal.
1. Eliminate the app installed on the system level
First of all, let's try to stop the background processes and move the main app to Trash:
- Open Applications folder
- Select Utilities
- Double-click Activity Monitor
- Here, look for suspicious processes related to adware and use the Force Quit command to shut them down
- Go back to the Applications folder
- Find UpgradedPlatform in the list and move it to Trash.
The PLIST files are small config files, also known as “Properly list.” They hold various user settings and hold information about certain applications. In order to remove the virus, you have to find the related PLIST files and remove them.
- Select Go > Go to Folder.
- Enter /Library/Application Support and click Go or press Enter.
- In the Application Support folder, look for any dubious entries and then delete them.
- Now enter /Library/LaunchAgents and /Library/LaunchDaemons folders the same way and terminate all the related .plist files.


Login items and Profiles can also be used to increase persistence. Hence, if you see any of the unknown ones, remove them as follows:
- Go to Preferences and pick Accounts
- Click Login items and delete everything suspicious
- Next, pick System Preferences > Users & Groups
- Find Profiles and remove unwanted profiles from the list.
2. Take care of the extension and clean your browser
While the extension is usually installed with higher permissions which often ensures its higher persistence, the elimination of the main application related to the virus might weaken this trait. Likewise, some versions of Adload might simply fail to perform this step correctly. Thus, we first recommend trying to remove the VirtualGuest extension manually, just as you do with any other add-on.
Safari
- Click Safari > Preferences…
- In the new window, pick Extensions.
- Select the unwanted extension and select Uninstall.


Google Chrome
- Open Google Chrome, click on the Menu (three vertical dots at the top-right corner) and select More tools > Extensions.
- In the newly opened window, you will see all the installed extensions. Uninstall all the suspicious plugins that might be related to the unwanted program by clicking Remove.


Next, you should make sure that your browser caches are properly removed. Once installed, adware and other malicious applications insert various items into browsers, which are stored locally. For example, cookies might be used for further data collection, even though the main app has already been removed. Thus, it is recommended to clean web browsers thoroughly from time to time, and doing so after malware removal is a must.
Safari
- Click Safari > Clear History…
- From the drop-down menu under Clear, pick all history.
- Confirm with Clear History.


Google Chrome
- Click on Menu and pick Settings.
- Under Privacy and security, select Clear browsing data.
- Select Browsing history, Cookies and other site data, as well as Cached images and files.
- Click Clear data.


If you were unable to eradicate malware components within your web browser, you could simply reset it as we explain below. Your bookmarks and other preferences will not get lost as long as you remember your account details. Proceed with the following to reset your browser:
Safari
- Click Safari > Preferences…
- Go to Advanced tab.
- Tick the Show Develop menu in menu bar.
- From the menu bar, click Develop, and then select Empty Caches.


Google Chrome
- Click on Menu and select Settings.
- In the Settings, scroll down and click Advanced.
- Scroll down and locate Reset and clean up section.
- Now click Restore settings to their original defaults.
- Confirm with Reset settings.


If you are using MS Edge or Mozilla Firefox, check out the instructions below.
Remove from Microsoft Edge
Delete unwanted extensions from MS Edge:
- Select Menu (three horizontal dots at the top-right of the browser window) and pick Extensions.
- From the list, pick the extension and click on the Gear icon.
- Click Remove.


Clear cookies and other browser data:
- Click on the Menu (three horizontal dots at the top-right of the browser window) and select Settings > Privacy, search, and services..
- Under Clear browsing data, pick Choose what to clear.
- Select Cookies and other site data and Cached images and files. (apart from passwords, although you might want to include Media licenses as well, if applicable) and click on Clear.


Restore new tab and homepage settings:
- Click the menu icon and choose Settings.
- Then find On startup section.
- Click Remove next to any suspicious startup page.
Reset MS Edge if the above steps did not work:
- Press on Ctrl + Shift + Esc to open Task Manager.
- Click on More details arrow at the bottom of the window.
- Select Details tab.
- Now scroll down and locate every entry with Microsoft Edge name in it. Right-click on each of them and select End Task to stop MS Edge from running.


Instructions for Chromium-based Edge
Delete extensions from MS Edge (Chromium):
- Open Edge and click select Settings > Extensions.
- Delete unwanted extensions by clicking Remove.


Clear cache and site data:
- Click on Menu and go to Settings.
- Select Privacy, search and services.
- Under Clear browsing data, pick Choose what to clear.
- Under Time range, pick All time.
- Select Clear now.


Reset Chromium-based MS Edge:
- Click on Menu and select Settings.
- On the left side, pick Reset settings.
- Select Restore settings to their default values.
- Confirm with Reset.
- This will disable extensions and reset startup pages but will not delete bookmarks, saved passwords, or browsing history.


Remove from Mozilla Firefox (FF)
Remove dangerous extensions:
- Open Mozilla Firefox browser and click on the Menu (three horizontal lines at the top-right of the window).
- Select Add-ons.
- In here, select the unwanted extension and click Remove.


Reset the homepage:
- Click three horizontal lines at the top right corner to open the menu.
- Choose Settings.
- Under Home, set your preferred homepage and new tab settings.
Clear cookies and site data:
- Click Menu and pick Settings.
- Go to Privacy & Security section.
- Scroll down to locate Cookies and Site Data.
- Click on Clear Data...
- Select Cookies and Site Data and Temporary cached files and pages, then click Clear.


Reset Mozilla Firefox
If clearing the browser as explained above did not help, reset Mozilla Firefox:
- Open Mozilla Firefox browser and click the Menu.
- Go to Help and then choose Troubleshooting Information.

- Under Give Firefox a tune up section, click on Refresh Firefox...
- Once the pop-up shows up, confirm the action by pressing on Refresh Firefox.



Did this guide help?
Be the first to comment